Keycloak is an open-source identity and access management solution that enables authentication and authorization for modern applications. One of its critical components is Access Tokens, which dictate user access permissions and session validity. Configuring access tokens effectively ensures a balance between security, user experience, and performance.
This guide provides a comprehensive look at managing access tokens in Keycloak. We will cover general practices, custom configurations, common challenges, debugging techniques, and best practices for securing and optimizing access tokens.

1. Understanding Access Tokens in Keycloak
What is an Access Token?
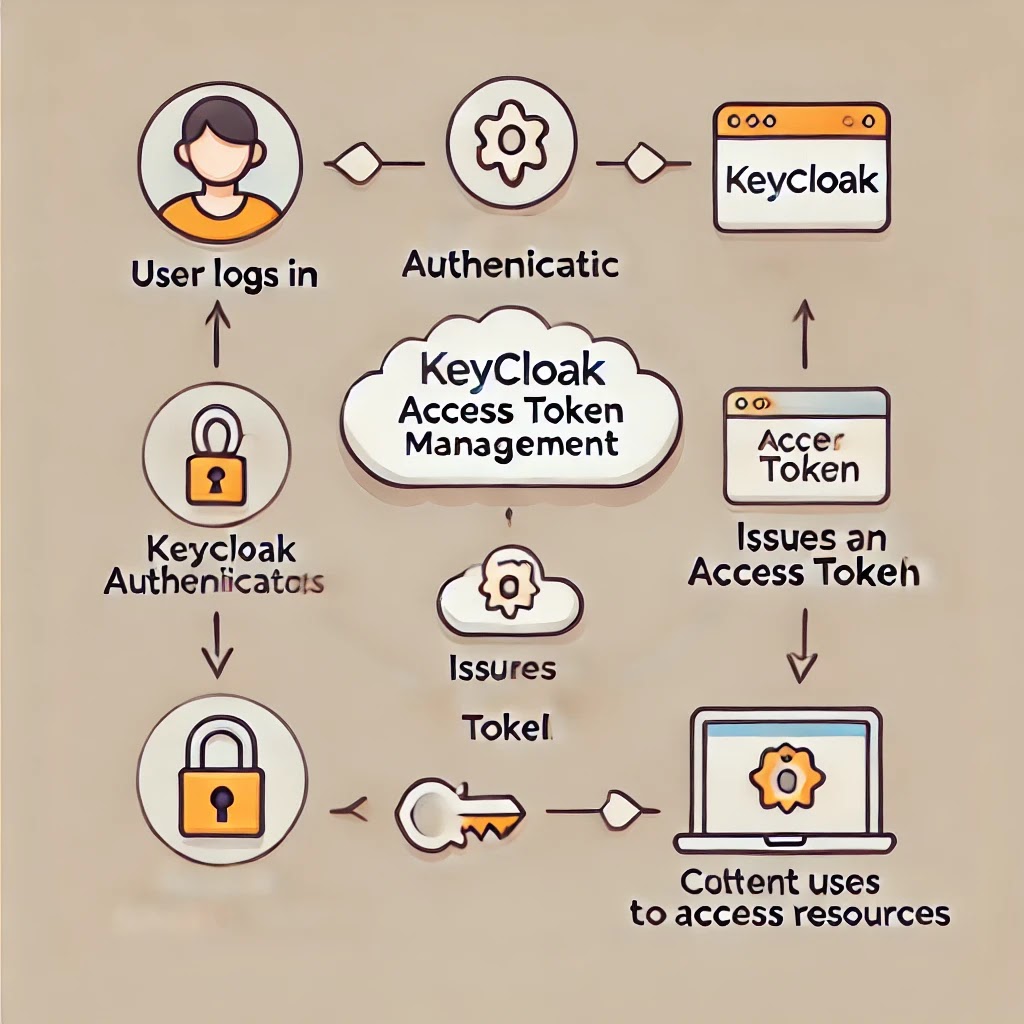
An Access Token is a short-lived credential used by applications to access protected resources on behalf of a user. Keycloak issues these tokens after authentication, and they are included in API requests for authorization.
Key Access Token Properties:
- Access Token Lifespan – Determines how long a token remains valid before expiration.
- Refresh Token Lifespan – Defines the validity period for refresh tokens used to generate new access tokens.
- SSO Session Timeout – Determines how long a user session remains valid across multiple applications.
- Client Login Timeout – Specifies the time limit for a client to complete the login process before timeout.

2. Configuring Access Token Settings in Keycloak
Keycloak allows administrators to configure access token settings at different levels: Realm, Client, and User.
A. Changing Access Token Lifespan at the Realm Level
To modify Access Token settings for an entire realm:
- Log in to Keycloak Admin Console.
- Navigate to Realm Settings > Tokens.
- Modify the Access Token Lifespan (e.g., from 5 minutes to 30 minutes).
- Click Save.
Example: Updating Token Settings via Keycloak REST API
curl -X PUT "http://localhost:8080/auth/admin/realms/{realm}/clients/{client-id}" \
     -H "Authorization: Bearer {admin-token}" \
     -H "Content-Type: application/json" \
     -d '{ "accessTokenLifespan": 1800 }'  # 30 minutes
B. Configuring Access Token Per Client
If you want different access token settings per client:
- Go to Clients in the Keycloak Admin Console.
- Select the client to configure.
- Open the Advanced Settings tab.
- Modify the Client Session Idle Timeout and Client Session Max Timeout.
- Click Save.
Use Case: API clients may have different access token requirements than web applications due to security concerns.
C. Setting Access Token Lifespan Per User
To configure access token settings for a specific user:
- Navigate to Users in Keycloak Admin.
- Select the user for whom you want to set a custom policy.
- Modify session-based token policies under Credentials.
- Click Save.
Use Case: You might want to grant longer access tokens to admins while limiting standard users.
3. Debugging and Troubleshooting Access Token Issues
A. Common Issues and Fixes
1. Token Expiring Too Soon
- Check the Access Token Lifespan and SSO Session Timeout settings.
- Use Refresh Tokens to extend sessions.
2. Invalid or Expired Access Token Errors
Verify token validity using Keycloak’s introspection endpoint:
curl -X POST "http://localhost:8080/auth/realms/{realm}/protocol/openid-connect/token/introspect" \
     -H "Content-Type: application/x-www-form-urlencoded" \
     -d "client_id={client-id}&client_secret={client-secret}&token={access-token}"
- If expired, adjust token lifespan in Realm Settings.
3. Token Not Containing Required Claims
- Ensure Client Scopes are correctly configured.
- Modify mappers in Client Scopes to include necessary claims.
4. Customizing Access Token Behavior in Keycloak
A. Extending Access Token Claims
To add custom claims to access tokens:
- Go to Client Scopes in Keycloak Admin.
- Create or modify a mapper to include custom claims.
- Assign the scope to the client where needed.
Example: Adding a Custom Claim via Java Code
public class CustomTokenMapper extends AbstractOIDCProtocolMapper {
    @Override
    public void transformIDToken(IDToken token, ProtocolMapperModel mappingModel, KeycloakSession session, UserSessionModel userSession, ClientSessionContext clientSessionCtx) {
        token.getOtherClaims().put("custom_claim", "custom_value");
    }
}
B. Implementing Script-Based Custom Token Logic
For advanced scenarios, create a custom provider using Keycloak’s SPI:
- Implement a Java class extending
OIDCProtocolMapper. - Register it in Keycloak’s
providersdirectory. - Restart Keycloak to apply changes.
5. Best Practices for Access Token Management
- Shorten Access Token Lifespan: Reduces risk if a token is compromised.
- Use Refresh Tokens: Instead of extending access token lifespan, leverage short-lived access tokens with refresh tokens.
- Limit Token Scope: Assign minimal permissions necessary.
- Enable Token Introspection: Validate access tokens dynamically before granting access.
- Use Client Credentials Grant for Machine-to-Machine Communication: This avoids unnecessary user-based authentication.
Conclusion
Managing access tokens in Keycloak requires careful consideration of security, usability, and performance. Whether adjusting global settings, client-specific configurations, or per-user access policies, Keycloak offers extensive flexibility to fine-tune authentication and authorization.
By following best practices and leveraging debugging techniques, you can create a secure, scalable, and efficient authentication system tailored to your requirements.
Do you have any Keycloak challenges? Drop a comment below, and let’s solve them together! 🚀